Generating PDF, please wait...

Hekima University College

E-Learning Portal - Comprehensive Training Guide for Lecturers & Staff

Portal URL: https://elearning.hekima.ac.ke
Support Email: ictsupport@hekima.ac.ke
Format: Hands-on Practice

Learning Objectives

By the end of this training, you will be able to:

Access & Navigate
Log into the platform and navigate efficiently
Manage Content
Upload and organize course materials effectively
Create Assessments
Design assignments, quizzes, and rubrics
Student Interaction
Use forums, messaging, and feedback tools
Track Progress
Monitor student engagement and performance
Apply Best Practices
Implement effective online teaching strategies

Getting Started - Login & Role Verification

1
Access the Portal

Navigate to https://elearning.hekima.ac.ke

Bookmark this URL for easy access

2
Login with Credentials
  • Username: Your Hekima staff ID or assigned username
  • Password: Default or custom password
3
Verify Your Role
  • Click your profile icon (top-right corner)
  • Confirm role shows "Teacher" or "Lecturer"
  • If incorrect, contact ODeL support immediately
Login Button
Hekima Login Page
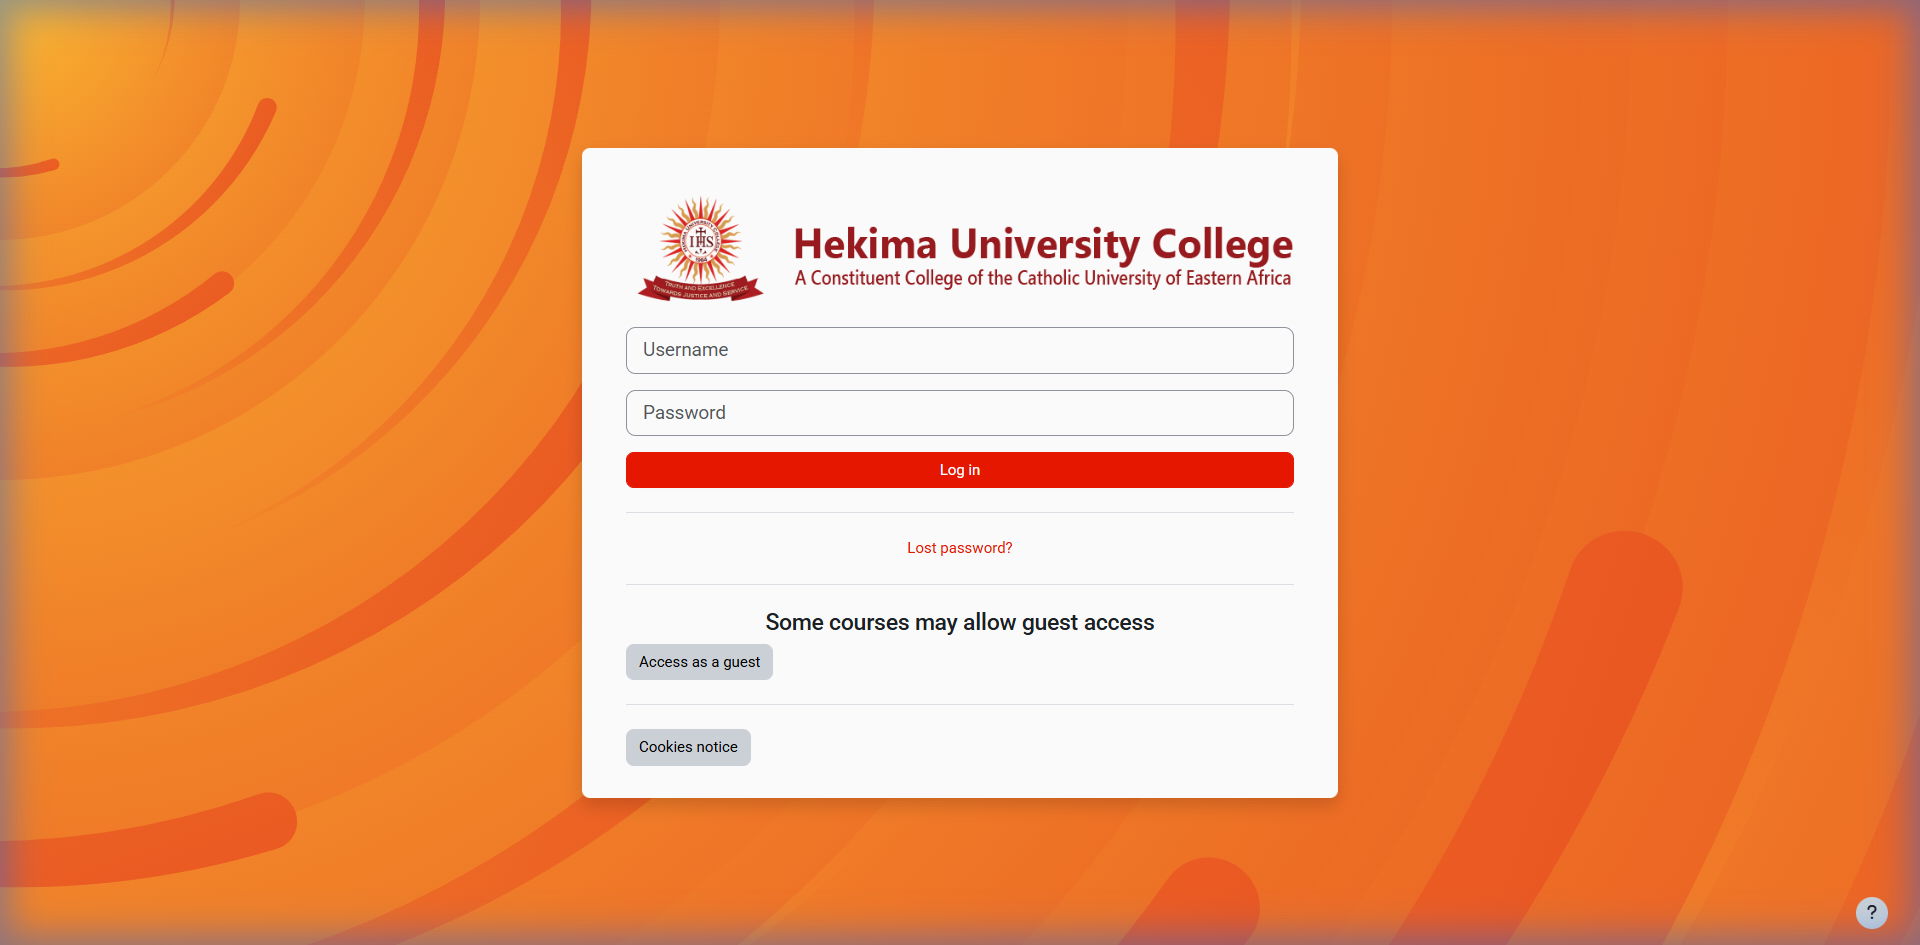
Fig 1: Login Portal – Enter credentials and click Login
Browser Recommendation: Use Chrome or Firefox for optimal performance. Safari and Edge also work well.
Password Issues: Click "Forgotten your username or password?" and enter your email for reset instructions. Contact ICT office if problems persist.

Course Setup & Management

1
Access Your Course
  • Click "My Courses" from navigation
  • Select your assigned course from the list
  • Note the course layout: header, sections, side blocks
2
Enable Editing Mode
  • Click "Turn editing on" (top-right or ⚙️ menu)
  • Notice edit icons appear: pencil (edit), arrows (move), trash (delete)
  • See "Add an activity or resource" links in each section
3
Course Structure Planning
  • Weekly Format: One section per week
  • Topics Format: One section per topic/unit
  • Social Format: Forum-based discussions
Practice Activity: Navigate to your course and turn editing on/off several times to get comfortable with the interface changes.

Content Management & File Uploads

1
Adding Files (PDFs, Documents, Slides)
  • Turn editing on → Click "Add an activity or resource"
  • Select "File" → Click "Add"
  • Enter clear name: "Week 1 - Introduction Slides"
  • Add description (optional but recommended)
  • Drag/drop file or use file picker
  • Choose display: "Open in browser" or "Force download"
  • Click "Save and return to course"
2
Creating Pages (Web Content)
  • Add activity → Select "Page"
  • Use for: syllabi, instructions, welcome messages
  • Rich text editor supports: headings, links, images, videos
  • Embed media using the media icon
3
Organizing with Folders
  • Use "Folder" resource to group related files
  • Example: "Week 1 Materials" folder containing slides, readings, exercises
  • Students can download entire folder as ZIP
Course Menu
Course Content
Fig 3: Course Management – Navigate content sections

File Management Best Practices

Naming Convention: • ABC123_Week1_Slides.pdf • ABC123_Assignment1_Instructions.docx • ABC123_Reading_Chapter1.pdf File Size Guidelines: • Keep files under 20-50 MB • Compress large videos or use streaming links • Use ZIP files for multiple related documents
Upload Tip: Drag and drop multiple files at once. The system will process them sequentially.

Assignments & Grading System

1
Creating an Assignment
  • Turn editing on → Add activity → "Assignment"
  • Name: Be specific (e.g., "Assignment 1 - Research Essay")
  • Description: Clear instructions + format + academic integrity note
  • Availability: Set open/close dates and cut-off times
  • Submission types: File upload and/or online text
  • File types: Specify allowed formats (.pdf, .docx, etc.)
  • Attempts: Usually set to 1
  • Grade: Set maximum points (e.g., 20, 100)
2
Grading Submissions
  • Go to Assignment → "View all submissions"
  • Individual grading: Click student name to grade inline
  • Batch download: "Download all submissions" for offline grading
  • Feedback options: Comments, annotated PDF, uploaded files
  • Rubrics: Use for transparent, consistent grading
3
Advanced Grading Features
  • Marking Workflow: Control when grades are released
  • Quick Grading: Enter grades directly in submissions table
  • Blind Marking: Hide student identities during grading
  • Plagiarism Detection: Integrate with Turnitin if available
Grader Report
Grading Interface
Fig 4: Grading System – View and manage student scores

Sample Assignment Instructions Template

Assignment 1 - Research Essay Instructions: Submit a 1000-1200 word essay on [Topic]. Requirements: • Format: PDF only • Filename: COURSECODE_Lastname_Firstname_Assignment1.pdf • Due: [Date] at 23:59 (server time) • Citations: APA format required • Late Policy: 10% deduction per day (max 3 days) Academic Integrity: This is individual work. Collaboration or plagiarism will result in zero marks. Contact instructor via course messaging for extensions (evidence required).
Practice Activity: Create a test assignment and experiment with the grading interface using a "student" account if available.

Quizzes & Online Examinations

1
Building the Question Bank
  • Go to Course → More → Question bank
  • Create categories (e.g., "Mid-term", "Chapter 1")
  • Create questions: Multiple choice, True/False, Essay, etc.
  • Note: Categorizing helps in randomizing questions later
2
Creating the Quiz Shell
  • Add activity → "Quiz"
  • Set Timing: open/close time and time limit
  • Set Grade: attempts allowed (usually 1 for exams)
  • Set Layout: new page for every question or every few
  • Set Review options: control what students see after attempt
3
Adding Questions to Quiz
  • Click the quiz → "Edit quiz"
  • Click "Add" → "From question bank" or "Random question"
  • Set maximum grade and individual question points
Question Bank
Question Bank
Fig 5: Quiz Management – Organize exams and questions
Academic Integrity: Use question randomization, time limits, and browser security for high-stakes assessments. Preview your quiz before publishing!
Practice: Create a sample quiz with 5 different question types. Use the preview function to test the student experience.

Communication & Student Interaction

1
Announcements
  • Use the default "Announcements" forum
  • Students are automatically subscribed
  • Posts are emailed to all enrolled students
  • Use for: welcome messages, deadlines, important updates
2
Discussion Forums
  • Add activity → "Forum"
  • Forum types: Standard, Q&A, Single discussion
  • Subscription: Auto, Optional, or Forced
  • Ratings: Allow peer evaluation of posts
  • Use for: class discussions, peer learning, FAQ
3
Direct Messaging
  • Use Messages icon (top-right) for private communication
  • Send to individual students or groups
  • Students can message you directly
  • Messages are integrated with email notifications

Sample Welcome Announcement

Subject: Welcome to [COURSE CODE] - Getting Started Welcome to our course! Here's what you need to do in Week 1: 1. Read the "Course Information" page 2. Complete the Week 1 quiz by [Date] 3. Introduce yourself in the "Student Introductions" forum 4. Download and review the syllabus Questions? Use the "Ask the Instructor" forum or send me a message. Looking forward to a great semester! [Your name]
Communication Strategy: Post weekly announcements, respond to forum posts within 24-48 hours, and encourage peer-to-peer help in forums.

Student Progress Tracking & Analytics

1
Gradebook Management
  • Access via Navigation → "Grades"
  • View all assignments, quizzes, and calculated totals
  • Categories: Organize by type (Assignments, Quizzes, Exams)
  • Weights: Set percentage contribution to final grade
  • Export: Download as CSV/Excel for records
2
Activity Completion Tracking
  • Enable completion tracking per activity
  • Manual: Students mark as complete
  • Automatic: System tracks based on criteria
  • View progress in Course → Reports → Activity completion
3
Participation Reports
  • Logs: Detailed view of who accessed what and when
  • Participation: Forum posts, assignment submissions
  • Course completion: Overall progress tracking
  • Use to identify at-risk students early
Privacy Note: Activity tracking helps identify struggling students but should be used supportively, not punitively. Contact students who show declining engagement.

Best Practices & Pedagogical Guidelines

1
Content Design Principles
  • Chunking: Break content into digestible segments
  • Multimedia: Combine text, images, videos, audio
  • Accessibility: Add alt-text, captions, clear headings
  • Mobile-friendly: Test on different device sizes
2
Engagement Strategies
  • Interactive Elements: Polls, discussions, peer review
  • Regular Communication: Weekly announcements, timely feedback
  • Clear Expectations: Rubrics, sample work, detailed instructions
  • Variety: Mix individual and group activities
3
Assessment Best Practices
  • Formative Assessment: Low-stakes quizzes, discussion participation
  • Authentic Tasks: Real-world applications, case studies
  • Timely Feedback: Within 48-72 hours when possible
  • Academic Integrity: Clear policies, varied question types
Pedagogical Tip: Apply the 7±2 rule - present 5-9 items per screen or section to avoid cognitive overload. Use consistent weekly structure to build student confidence.

Templates & Weekly Checklists

Week 1 Launch Checklist

□ Create "Course Information" page with syllabus and expectations □ Post welcome announcement with week 1 tasks □ Upload week 1 slides and required readings □ Create first assignment with detailed rubric □ Set up low-stakes formative quiz □ Enable activity completion tracking □ Test all links and media files □ Send personal welcome message to class

Weekly Maintenance Checklist

□ Post weekly announcement by Sunday evening □ Review and respond to forum discussions □ Grade assignments within 48-72 hours □ Upload next week's materials □ Check completion reports for at-risk students □ Update gradebook and release appropriate grades □ Prepare upcoming assessments

Simple Rubric Template

Content & Understanding (60%) • Excellent (54-60): Comprehensive understanding, accurate details • Proficient (48-53): Good understanding, mostly accurate • Developing (42-47): Basic understanding, some inaccuracies • Beginning (0-41): Limited understanding, significant errors Communication & Presentation (25%) • Excellent (23-25): Clear, well-organized, professional • Proficient (20-22): Generally clear and organized • Developing (18-19): Somewhat unclear or disorganized • Beginning (0-17): Unclear, poorly organized Use of Sources & Referencing (15%) • Excellent (14-15): Appropriate sources, correct format • Proficient (12-13): Good sources, minor format issues • Developing (10-11): Limited sources, format problems • Beginning (0-9): Inadequate sources, major format issues
Template Usage: Copy these templates to a text file for quick reference. Adapt the language and criteria to match your discipline and course level.

Bulk Uploading User Accounts (CSV)

Used when you have many users (students/lecturers) to create at once.

1
Prepare Your Data

Create an Excel file with these exact headers:

username,firstname,lastname,email,password
2
Enter User Details

One user per row. Example:

jdoe001,John,Doe,jdoe@mail.com,TempPass123
3
Save as CSV

Save the file specifically as CSV (Comma delimited).

4
Upload to Portal
  • Log in as Admin
  • Go to: Site administration → Users → Accounts → Upload users
  • Upload your CSV file and click Upload users
5
Final Settings
  • Set Default role = Student (or Teacher for staff)
  • Choose Force password change = Yes
  • Confirm the settings and finalize the upload
Upload Zone
Bulk Upload
Fig 6: Bulk User Import – Drag CSV files here
Success: All users in the file will be created automatically.

Strategic Course Enrollment

Approach A: Bulk Enrollment by CSV

Ideal for large lists across multiple courses.

1
Prepare CSV
username,course1,role1
jdoe001,MATH101,student
2
Upload Data
  • Go to: Site administration → Courses → Upload courses
  • Upload your CSV file and follow the prompts

Approach B: Cohort Sync (Admin Recommended)

Perfect for batching departments site-wide.

1
Create Cohort

Site admin → Users → Accounts → Cohorts

2
Enable Sync

In your course: Enrollment methods → Add method → Cohort sync

Manual Alternative: Use Search and hold Ctrl/Cmd in the Participants page to select multiple students for manual enrollment.

Bulk Import of Quiz Questions

Useful for importing entire exam papers prepared externally.

1
Prepare Format

Save questions in GIFT (plain text) or Moodle XML format.

2
Import to Bank
  • Go to Course → More → Question bank → Import
  • Select your format (GIFT/XML/Aiken)
  • Upload file and click Import
Best Practice: Always test with a small file (1-2 questions) first to verify formatting.

Course Cloning & Group Management

Importing/Cloning Content

1
Initiate Import

Go to the destination course → Settings → Import.

2
Select Source

Find the course you want to clone from and click Continue.

Creating Student Groups

1
Access Groups

In your course: Participants → ⚙️ (gear) → Groups.

2
Assign Users

Create Group → Name it → Select students and click Add.

Bulk Messaging & Communication

Communicate with all students at once without individual emails.

1
Select Audience

Open Course → Participants.

2
Compose Message
  • Select individual students or "Select all"
  • In the dropdown menu, choose "Send a message"
  • Type your update and click Send
Mobile Reach: Students receive these messages both in the portal and as push notifications.

Troubleshooting & Support

Common Issues & Quick Fixes

  • Student can't submit: Check due dates, file size limits, allowed file types
  • Files won't upload: Reduce file size, check format, try different browser
  • Grades not visible: Check gradebook visibility settings and release dates
  • Forum emails not sending: Verify subscription settings and user email preferences
  • Quiz questions not displaying: Check question bank and preview mode

When to Contact Support

Include in your support request: • Course code and your name • Screenshot of the issue • Exact error message (if any) • Time and date when issue occurred • Steps you took before the problem • Browser and device information Example Subject: "Hekima eLearning - Course: ABC123 - Cannot enrol student - [Your Name]"
1
ICT Office Support
  • Password resets and login issues
  • Account access problems
  • Technical connectivity issues
  • Email: ictsupport@hekima.ac.ke
2
ODeL Support Team
  • Course setup and configuration
  • Advanced features and integrations
  • Training and best practice guidance
  • Email: ictsupport@hekima.ac.ke
Video Tutorials Access Portal